
There are different ways you can add different lines to your Word document. Lines are just a basic design element for your document.
Lines, either horizontal or vertical, can divide a document and guide the flow of your text. It also helps the document be more appealing. This article gives you steps you can use to add a line to your word document.
How to add a line in Word using Shapes
Table of Contents
You can use the following simple steps;
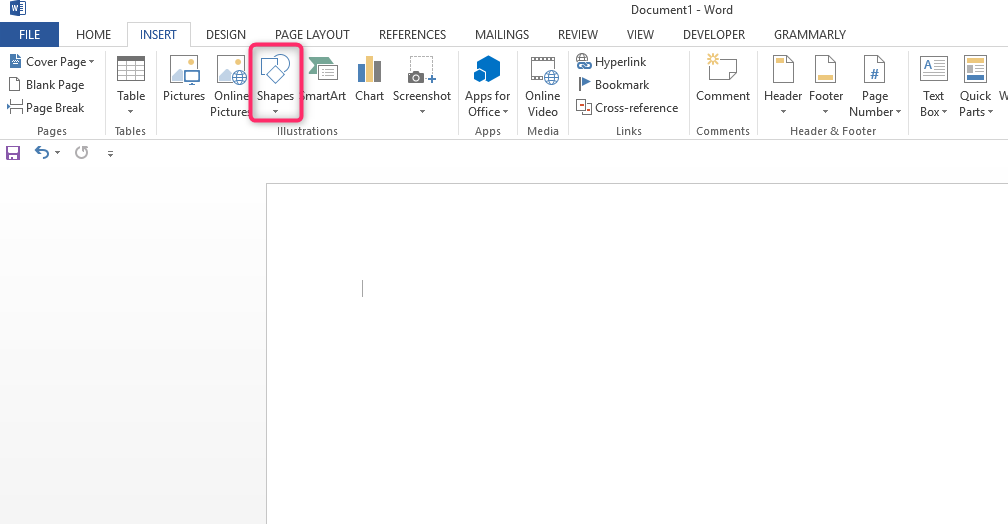
1. Open your Word document and open Insert on the menu.

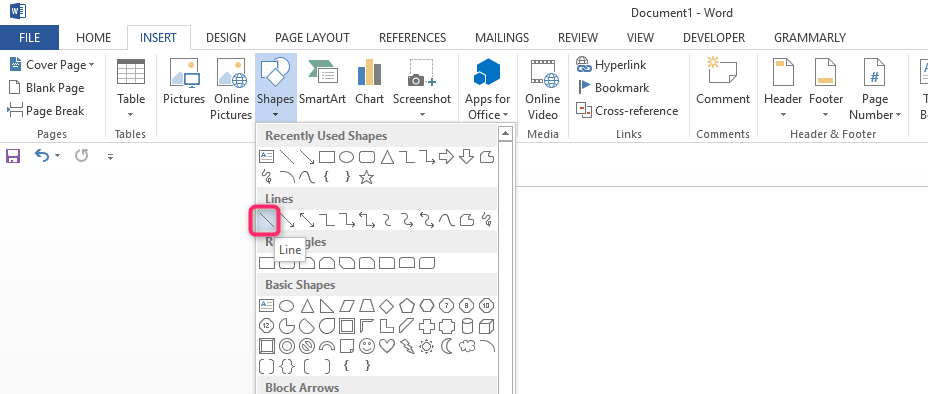
2. Click on Shapes. Select the option Lines and choose any line style you prefer.

3. Identify the place where you want to add the line on your document.
4. Hold and drag the pointer to this location, then release the mouse.

Alternatively, you can use the following simple steps;
1. Open your Word document or any Blank document.
2. Open the Insert Tab. A drop-down menu box then appears.
3. Click on Shapes
4. Choose the option Lines and Connectors and click on it.
5. Click on the Straight line option or your preferred line type.
6. Drag the pointer to the place where you want the line to be. You can then release the mouse button. The draw your line.

How to add a Line in Word using Special Characters
You can add a line to your Word document by typing a few special characters. This is done by using the Auto-format feature. You can use the following guiding steps.
1. Open your Word document.
2. Position the cursor.
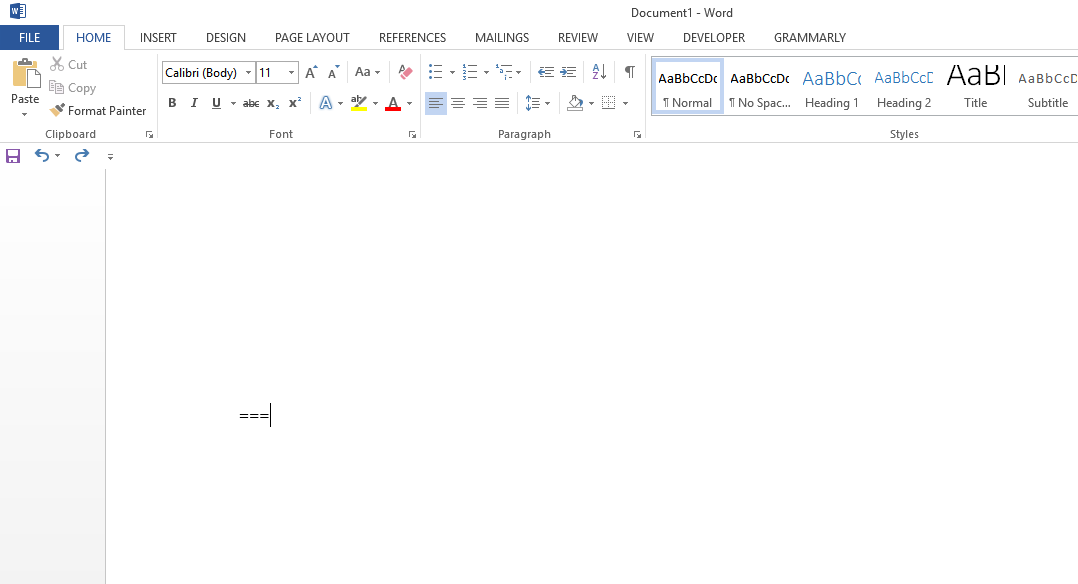
3. Type characters that you would want to use to convert into a straight line. These could be Hyphens, Asterisks, equal signs, and underlines.
4. When you press Enter, the line that appears will match the width of the column.

We can also add a line to Word by drawing a line on Windows. Follow the steps given below.
1. Open the Word document.
2. Open on Insert.
3. Choose the option Shapes.
4. Click on a line.
5. Draw your line by dragging the pointer to the place you want the line to be and releasing the mouse button.
Adding a line over a text with a field function involves the following;
- Click where you want to add the line. Go to insert, click on Quick- Parts, and finally Field.
- Click on Eq located on Field names. Choose Equation Editor.
- Click on the Underbar and overbar templates. Select the overbar option.
- You can then type any text that you want to add a bar.
Lastly, you can use Keyboard shortcuts.
1. Open a blank document in Word.
2. Position your cursor on where you want to add the line.
3. Type three dashes following each other with the help of your keyboard.

4. Once done, press the Enter button to convert these dashes to a continuous line.

5. Remember, different characters represent different types of lines. These are;
- Asterisks are converted to a dotted line.
- Three equal signs are converted to a double line.
- Three underscores are converted to a thicker line.