

Google Docs tools can be used to create and edit online documents. It is important to understand how to insert lines in documents using Google Docs among these functional tools. These lines serve essential purposes. For instance, a horizontal line can divide your document into smaller sections. This applies to lengthy documents. In this case, the horizontal lines improve the document’s layout, thus making it more readable. Furthermore, horizontal lines can create and organize neat resumes and statistical tables.
There are different ways to separate the elements in your Google Docs document visually. This is where the horizontal line comes in handy. Herein, we shall cover adding a vertical and a horizontal line in your documents.
How to add a horizontal line in Google Docs
Table of Contents
Step 1: Open your document
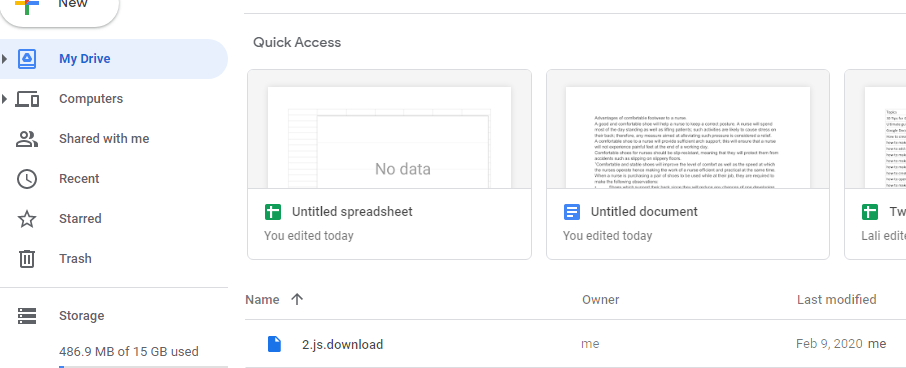
Fire up your browser and go to your Google Drive through https://drive.google.com/drive/my-drive. Open the document to which you intend to add a horizontal line.
Step 2: Select where to add the horizontal line
Next, click the spot in your document where you want the horizontal line added.

Step 3: Insert a Horizontal line
Next, click on the Insert tab at the top left of the window, and from the drop-down menu, select the Horizontal Line option.

Note that the horizontal line will be added to your document as a character using this method.

Thus, if you want to delete it, position your cursor before the horizontal line and press the Delete or Backspace key on the keyboard.
How to add a vertical line in Google Docs
Presently, Google Docs doesn’t have a practical option to directly insert a vertical line in a document. Nevertheless, you can use the Google Docs drawing tools to get the job done. The following steps can insert a vertical line in Google Docs.
Step 1: Open your document
Fire up your browser and open Google Docs.
Step 2: Launch the Drawing pad
Click on the Insert tab option and then click on the Drawing option. Select the +New option from the drawing dashboard.

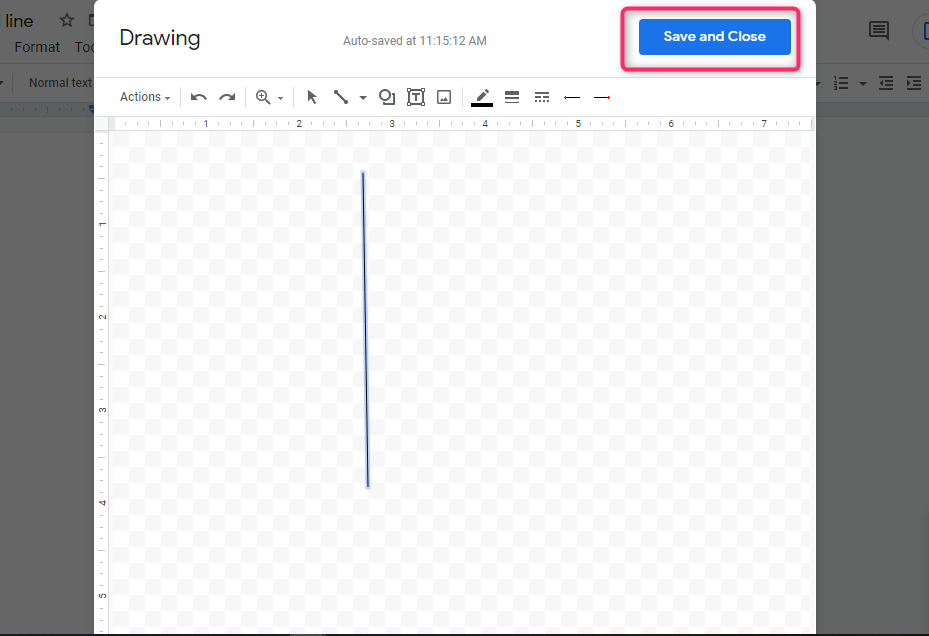
Step 3: Click on Line on the toolbar.
Select the Line option and draw a vertical line in the desired drawing area of your document using your mouse. While you are here, you can choose to customize your lines by altering their color and thickness.

Step 4: Save and close
Next, click the blue button Save & Close. Having formatted the line in the manner you would like to be inserted on the document, click Save & Close from the top right corner of the current window.
How to delete the line
This can be done. This is accomplished by highlighting the line and pressing the Delete or Backspace button on the keyboard. Alternatively, you can place your cursor behind the line and press the Delete or Backspace keys.
The bottom line
The above steps are all you need to know about inserting a vertical or a horizontal line in your Google Docs documents. Whether you want a line in a drawing or want to underline a text on the document, these steps should work.