
The Google Forms app is one of the functions of the Google Drive suite of online productivity tools. The Google Forms application provides a variety of templates that can be used to create virtually any type of form. This feature is accessible through Google Drive, and you can create all forms of surveys and questionnaires that you can share with your clients or business partners for feedback. This tool is essential in engaging your customers about what you offer in terms of products and services.
The most important part is that you can embed a link to share with your email contacts as well as social networks such as Facebook and Twitter. Moreover, when clients or customers fill this form, Google has a way of tracking and compiling the feedback for you. This article explores step by step procedure of creating fillable forms in Google Docs.
How to Create a New Form
Table of Contents
Step 1. Sign In
First and foremost, sign in to your Google Drive Account. From here, click the Drive link and select the New button (red in color) in the sidebar at the top left of the page. Thereafter, select Form from the drop-down list that appears to open the gallery of templates available.

Step 2. Enter Form Title
Click on the Title tab and then type in the title on your form. Select a template and then click OK. This will open the plain form template. Note that the plain form template will not show its graphic designs at this point.
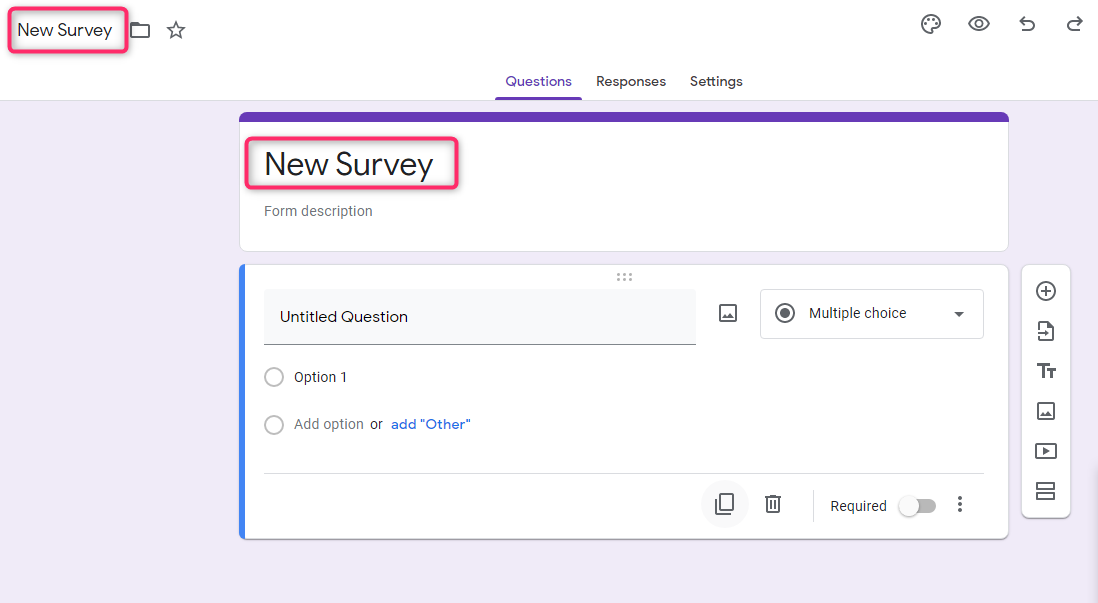
Step 3. Enter Question Title
Here, click Form Description to type your question in the Question Title field. If required, enter more information or hints concerning your question in the Help Text field. For instance, you can enter a brief paragraph about your new merchandise and include a polite inquiry for clients’ responses.

Step 4. Configure the question type
Next, you click on the Question Type, and on the drop-down menu, you select however you want your responses to be. For instance, you can pick on Multiple Choice if you want shorter responses or select Paragraph Text if you desire longer responses.

At this point, you can configure your answer options right underneath the Question Type menu. You only do this if you have selected Checkboxes, multiple-choice, or any other option which allows respondents to choose answers
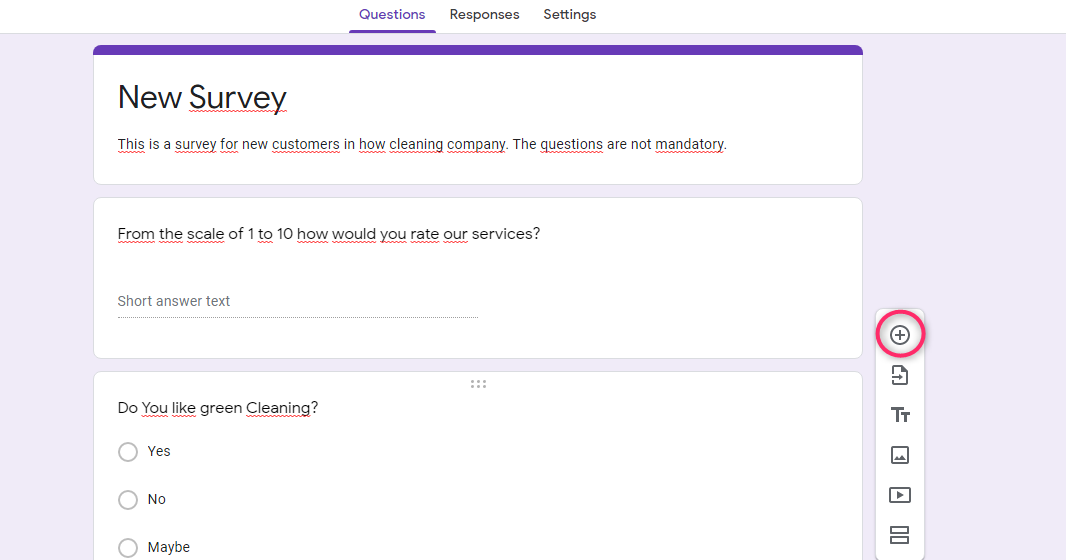
Step 5. Add more questions
If you need additional questions, click the Add Item button.
Step 6. Review items above the Send Form button.
These items enable respondents to either see the published results or edit answers even after form submission.

Step 7. Finish the form and send
Click the Send Form button to share it either through your social media accounts or from your Gmail to your contacts.

Conclusion
The aforementioned steps briefly outline a simple way to create a fillable form on Google Docs. Remember that after finishing your form, clicking Send Form copies the hyperlink that you could share on as many forums as you would like.